16 tips to help you take professional looking photos with your smartphone

It is funny to think, but a couple of hundreds years ago photography was a luxury, and only the wealthiest could afford to have photos of themselves made. It was a complicated process that took hours of sitting still in front of the camera.
Fortunately, these times passed long ago, and now we, arguably, live in the golden era of photography. In the past few years humanity has taken more photos than ever before in history – just in 2017 more than 1.2 trillion photos were taken. People seek to save important moments and to share curious things they see and thanks to smartphones it’s easier than ever before. Moreover, it is not a secret to anyone that posting beautiful photos is one of the ways to becoming popular on social media like Instagram.
But do you think social media influencers have all their material shot with professional cameras? Nope! They just know some tricks and rules of photography and get high-quality images just through the camera of their smartphones.
And it goes beyond bloggers and influencers – there are numerous professional news outlets that had opted to use a smartphone, especially in a pinch, when it’s impossible on unreasonable to have heavy professional equipment. Thankfully the technology came far enough that they can compile professional reports purely out of photos takes with the camera of an iPhone.
And the best part is, the rules for successful smartphone photography are not very difficult. Coming for the general rules of photography, they form a comprehensive guide for you to take your photography to the next level.

Guide to taking professional photos with a smartphone
- Keep up with the maintenance: update the camera software and keep the camera lens clean. Dirty camera is the simplest way to end up with a bad photo. And software developers are constantly improving the quality of their product, so if your phone’s software has camera-related bugs they would probably be fixed in the later versions.
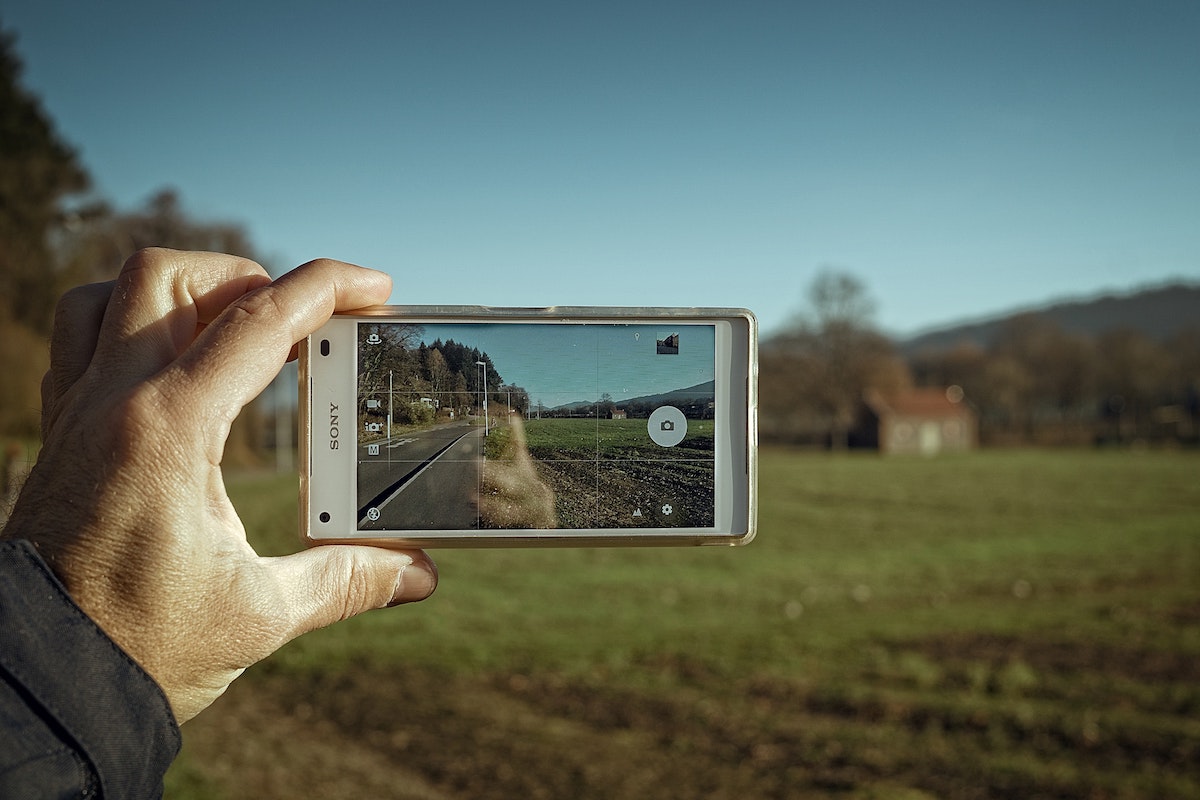
- Work with gridlines to optimize the balance of your shot. On the camera of every modern phone, you can turn on a gridline that will “divide” the screen into 9 different parts. Your task is only to place the image in it, according to the rule of thirds, or “Golden rule”. It is better to locate the most important objects at the intersection points of the gridline, and then the composition of your photo will be balanced. In addition, gridlines will help you with the symmetry of the photo.
- Determine what is the main focus of the picture and construct the frame around it. Your main focus should be in your central third of the photo – use the grid to determine that. The remaining two-thirds, according to professional photographers, should not distract attention. If possible seek for them to compliment the main focus.
- Try to make the main object highlighted by background. It’s perfectly fine to have an empty or monotonous background, it may even help bring more attention to the central object. (Think of a lonely tree against the background of fog).
- Play with perspectives and angles. It is not necessary to take photos only from the center. You can catch a shot at a completely unexpected angle, and your objects will look different and more original.
- Pay attention to reflections. They can be caught in water, sunglasses, mirrors and metal surfaces. While it is possible to create a meaningful composition with correctly chosen reflections, you need to be careful – something completely unrelated can be caught in the reflection and ruin your photo.
- Do not forget about the leading lines. Such in the frame is almost always – its roads, forest trails, and stairs. They give a sense of depth and thoughtfulness of the photo.
- Pay attention to repeating patterns and small details. Using such elements adds a touch of sophistication and refinement to a photo, establishing that the photographer catches details outside of the view.
- Experiment with the color lock. This function will help highlight one object with different colors on a black and white background and much more. There are many similar applications for the smartphone.
- Try to avoid zoom. It might seem natural to zoom in on the main focus of your photo, especially if you’re taking the picture from far away. Nevertheless, do not do this if you can help it, since you risk blurring the photo and lose its quality. This is especially true for digital zoom which just increases the size of the picture and crops the edges which reduces resolution. Ideally if you need to zoom in during photography, you’d want to buy an additional lense.
- Do not forget about natural light. Sometimes the photo is better even without a flash. In this case, using natural light, you have the opportunity to play with light and shadow, which gives the photo a special charm.
- Try taking natural, “in the moment” photos. This means, when taking pictures of a person, not constructing the frame and having them pose, but taking a photo while they’re not focused on the camera or don’t expect it. While you might get a few bad takes, this way you can get the most genuine photos possible. Of course, you need to have a person’s consent to have their photos taken – it is not OK to take and use someone’s photos without their permission.
- Experiment with low light. Lighting can seriously affect our perception of an object. Low lighting, long shadows can make familiar object seem more mysterious and exotic. However this will take you some time and a good eye for spotting good compositions, but they payoff can be incredible.
- Try to make your photos that cause emotions. Effectively this means considering the meaning and the message of a specific photo while constructing the frame and taking the picture. You don’t need to create complicated works of art and renaissance compositions, but even a simple change in angle can affect the main idea behind the photo.
- Avoid making photos physically hard to look at. Even if you’re feeling artsy and controversial, if your photos feature bad angles (like the horizon line being at an angle for no good reason), clashing and hard to look colors, or hard to make out composition (in a bad, messy way) then the viewer will won’t take time to indulge in your vision – they’ll just move on.
- Edit and improve your photos. There are many applications with various functions and filters, which can help you improve the photo. For a professional looking photo it might be better to stay off using filters and just use simple editing. That’s not to say that there is no place for filters, but you should avoid overusing them.
With this guide you can easily up your smartphone photography game. And if you develop a good photography skill, you can even turn this into your main or side-job. But even if this is not your goal, we all take photos every day, so there is no good reason not to make them look good.
Which of these secrets have you already used and what are your own secrets of making a successful photo? Share with us in the comments section.