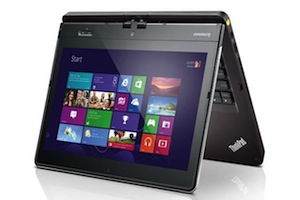
Lenovo Issues Hotfix for IdeaPad Yoga 13 to Increase Storage Space

If you’re the brand new owner of a Lenovo IdeaPad Yoga 13, you might have some mixed emotions about your device. Sure, it has a touchscreen. Sure, it can bend and fold and turn into a tablet. But the storage! Lenovo packs a 128 GB solid state drive into the Yoga 13, which should offer you a sufficient amount of space. However, we learned a few weeks back that users only had access to 60 GBs of that space. Why? Partition madness. Lenovo split the SSD into seven separate partitions; some much larger than the files they contained, others with no apparent purpose at all.
Thankfully, Lenovo heard the pleas of frustrated Yoga 13 owners everywhere, and has released a hotfix for the issue.
The fix, which can be downloaded from the Lenovo website, will “make changes to the partition structure on your PC’s hard drive,” according to Lenovo. What does this mean, exactly? Well, the fix will combine the C: drive that the Windows 8 operating system is installed on with the system’s D: drive. Next, it’ll check to see how much space the files on other partitions are actually using, and resize them to use as little space as possible. Finally, any extra space that the fix recovers from the other partitions will be added to the C: drive.
After running the tool, your C: drive should come in at about 95 to 100 GBs of space — a vast improvement from the 60 GBs that was previously available. Lenovo definitely deserves some credit here for quickly responding to criticisms about the amount of available space by providing the hotfix. While many PC makers are struggling to do anything right, Lenovo has shown that the company is not deaf to the demands of its users.
It’s important to note here that any applications you’ve installed on the D: drive will be uninstalled when you run the hotfix. You’ll need to reinstall those applications on your C: drive. If you’ve stored any data on the D: drive, it’ll be saved in a folder on the C: drive called “D_Backup” after the hotfix process is complete.
Ready to get started? Visit the hotfix download page on the Lenovo website, click the “Download Now” arrow, and save the file to your desktop. Run the file as an Administrator and follow the instructions to apply the hotfix to your system. After that, all you’ll need to do is enjoy all of that sweet new storage space you’ll have.