How to unhide and show the Library folder in macOS
In recent releases of macOS (since macOS / OS X Lion), the Library folder is hidden and not accessible by default. For some reason (probably to keep users from causing problems by deleting necessary files) Apple decided to hide it, but what about power users? How do you access the Library folder on Lion if it’s hidden? Well, thankfully, there is an easy way to tell Lion to show the Library folder.
Show the Library folder using the Terminal
In order to tell Lion to show the Library folder all the time you will need to open the Terminal and execute a specific command. To open the Terminal, click the Applications folder, find the folder called Utilities, open it, and in there you will see the icon for the Terminal application. Launch the application and type in the following exactly as you see it below and then hit the Enter key:
chflags nohidden ~/Library
That’s it – it’s that simple. Now you will have access to the Library folder. I should also note that you only have to use this command once – it should keep the Library folder shown from now on (unless you reinstall macOS or your permissions become misconfigured).
Show the Library folder using View Options
If you don’t feel comfortable running a command in the Terminal, you can also show the Library folder by adjusting your View Options for the Finder. The first thing you need to do is open a Finder window and navigate to your user’s home directory. Mine is called “jeff” — it’s the one with the house icon next to it in the Finder sidebar.

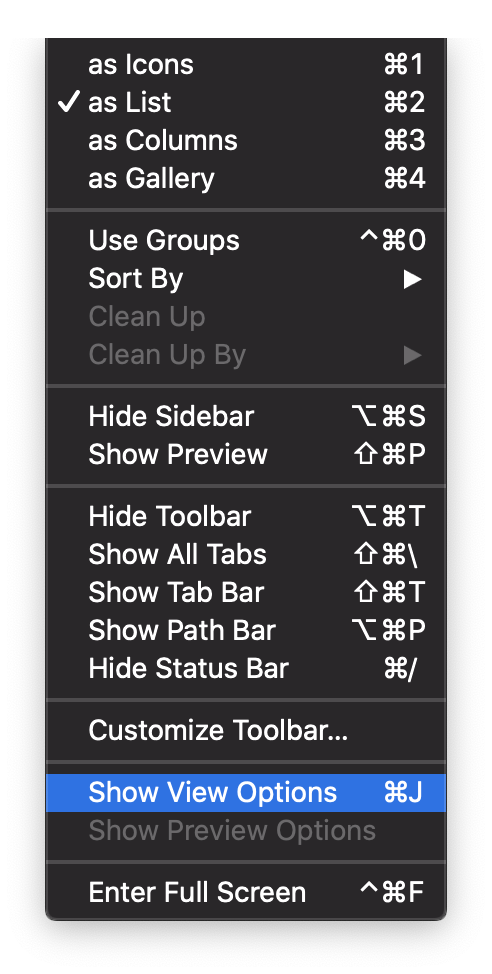
Next, in the Mac menu bar, click View, then look for Show View Options, and click that.

After you have clicked on Show View Options, another dialog box will appear, at the bottom you will see an option with a checkbox to Show Library Folder, check that box and the Library folder will now appear within your home folder.

