How To: Install A Hard Drive In A Mac Pro

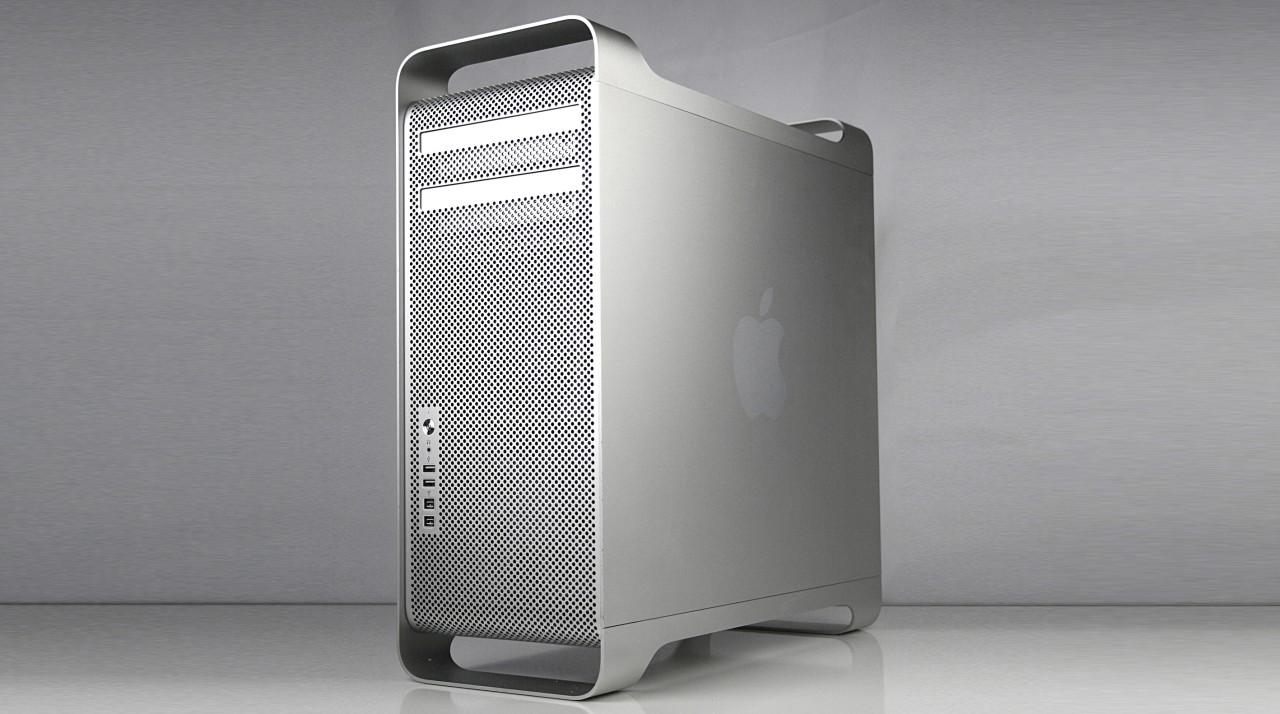
One of the nice things about a Mac Pro is the very sleek case design, amazing cable management, and the ease of installing new hardware (especially when it comes to adding new hard drives). Whenever you install any new hardware or are working inside of a computer case it is extremely important to ground yourself either by wearing an anti-static band (recommended) or by touching some piece of metal to discharge any static energy that may be in you. It is also a good idea to work on a computer in an area with no carpet. If you must be on carpet, you should take off your socks and wear pants (shorts may be ideal) that do not rub against the carpet. By taking those precautions you are less likely to fry any of the hardware.
Once you have grounded yourself, open your Mac Pro’s case by unlocking it in the back and gently pushing the side of the case off using both hands. After you have the side of the case off, carefully place the Mac Pro on its side. Now, you will see the four hard drive bays (they will be labeled – 1, 2, 3, 4). Next you will have to slide out the bay you want to install the hard drive in and screw the hard drive onto the bay (using the four (4) screws on the bay). After the hard drive is firmly attached to the hard drive bay slide it back into the slot and you will hear it click into the proper connectors – that’s it!
You have now successfully installed the new hard drive into your Mac Pro. Close up the case and plug everything back in and boot up. If you experience any problems such as not being able to boot feel free to post your question on our forums in the Mac Support section and we will be glad to assist you troubleshoot the problem.
It is also important to note that you will have to format the new hard drive using the disk utility application so the Mac OS can read it.
